If you have ever launched a web hosting company or a digital infrastructure agency, you know that the actual server deployment is usually the easiest part of the job.
The real nightmare begins when you try to build the storefront.
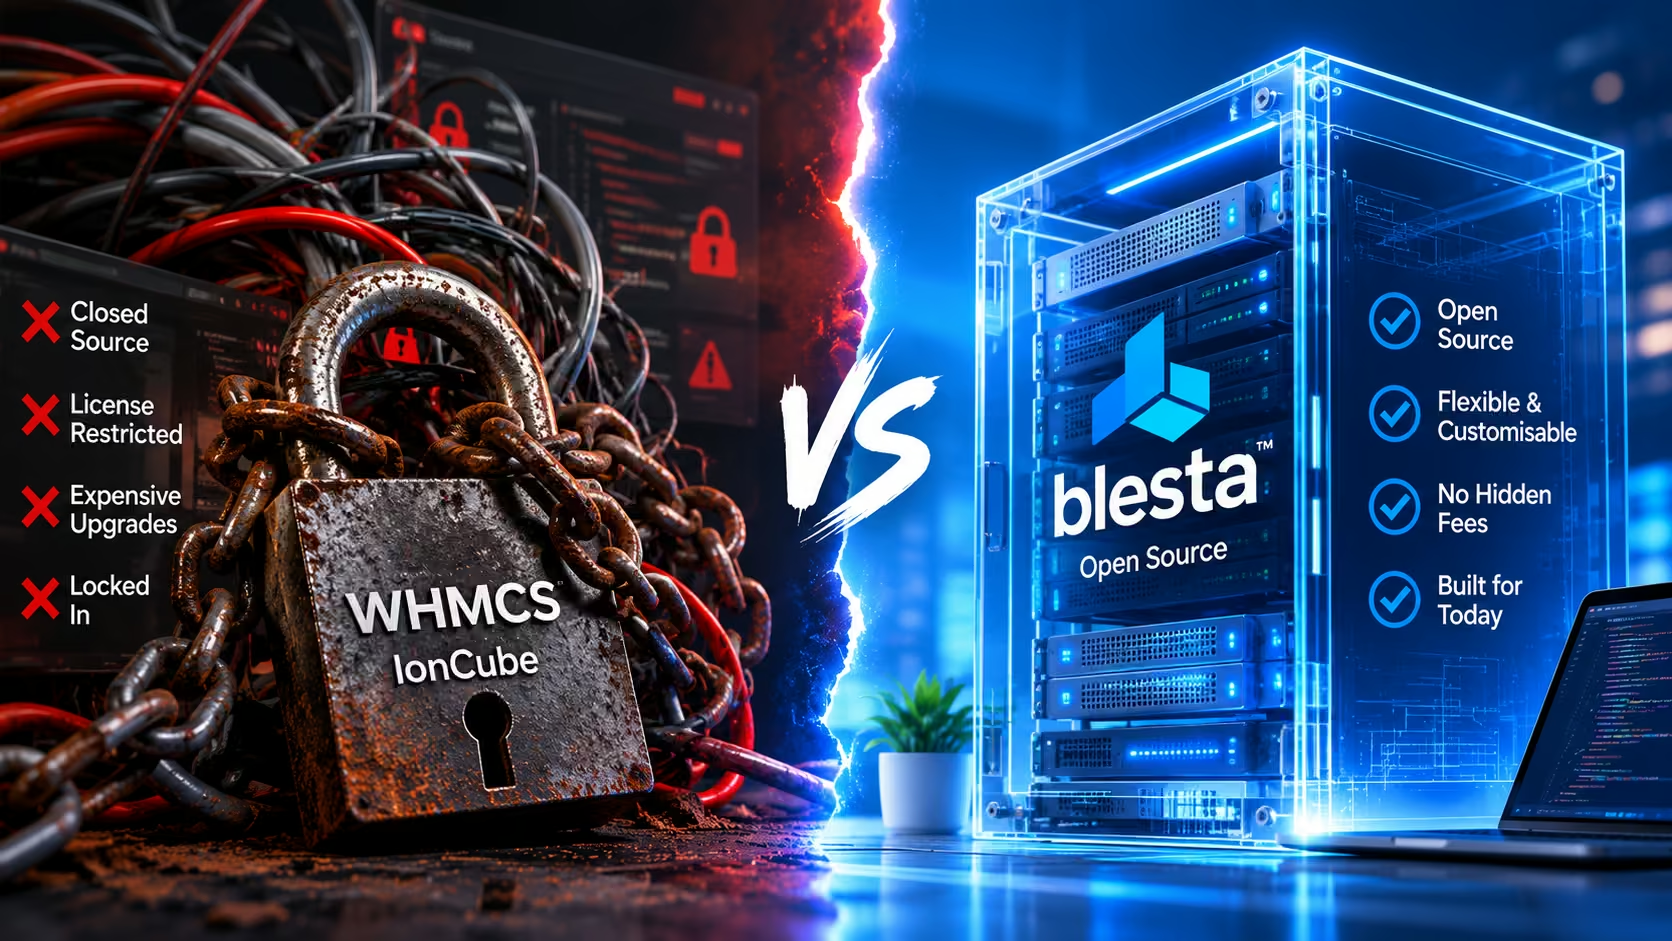
Historically, setting up a unified, professional-looking hosting brand meant resigning yourself to weeks of frustrating development work. You had to install WordPress on your main domain, buy a heavy marketing template, and then install your billing software (like Blesta or WHMCS) on a completely separate subdomain. From there, you spent countless hours trying to force the two platforms to look somewhat similar, hacking away at core .pdt or .tpl files, and praying that a software update didn’t wipe out all your custom CSS.
We built the Hostra theme to completely obliterate that workflow.
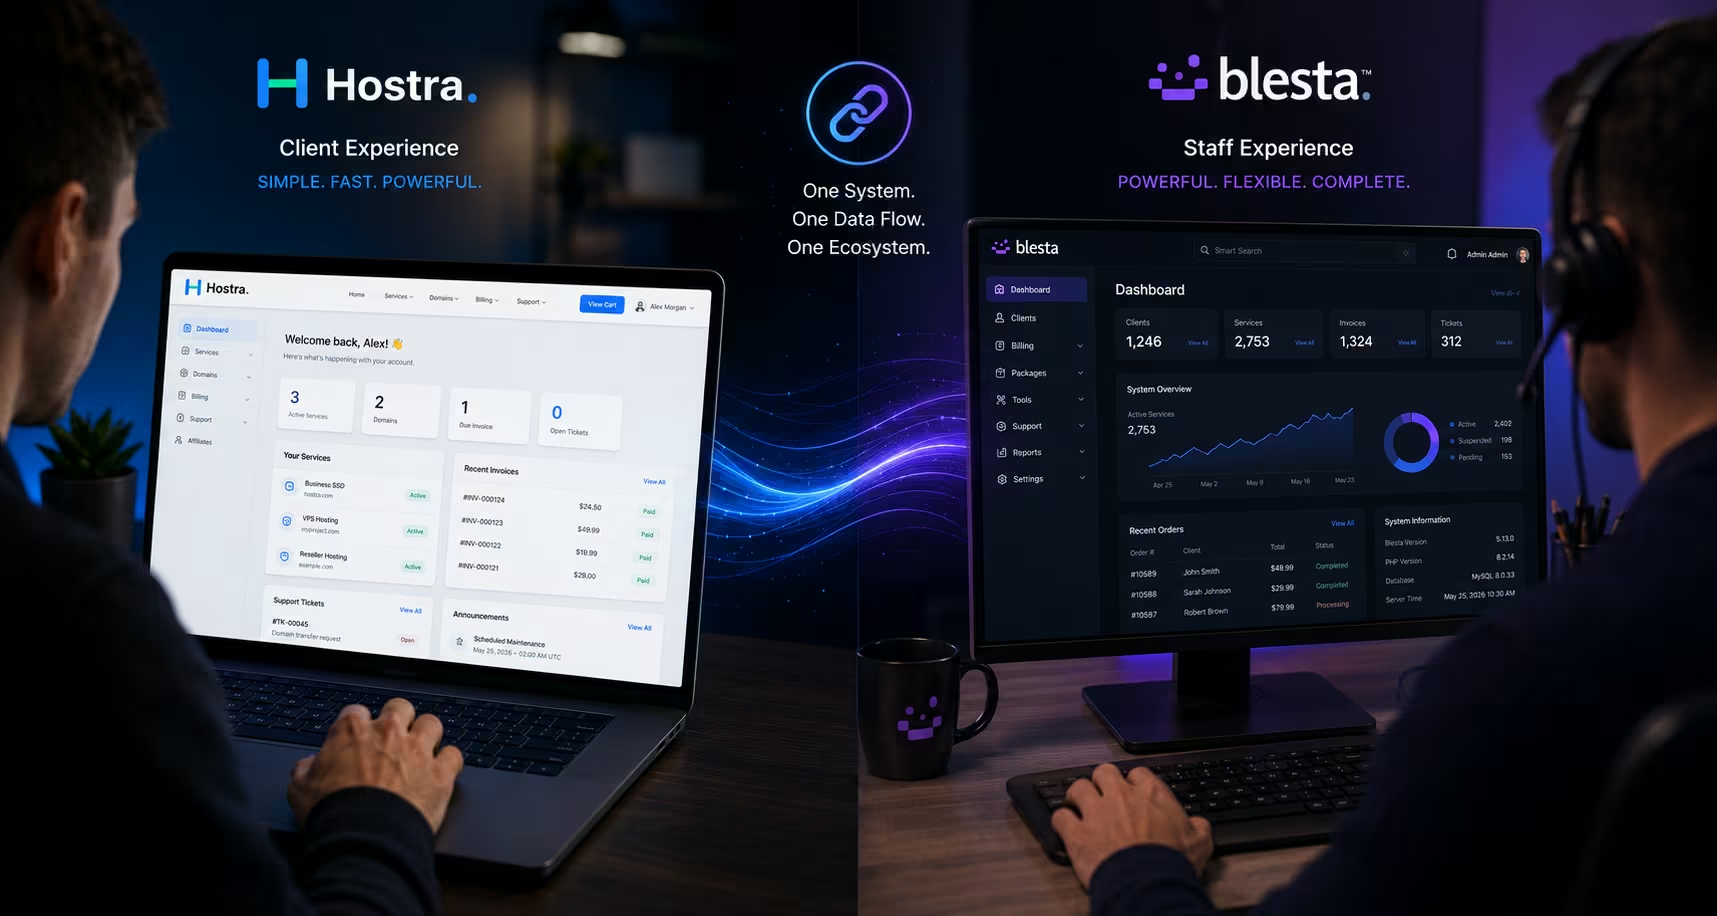
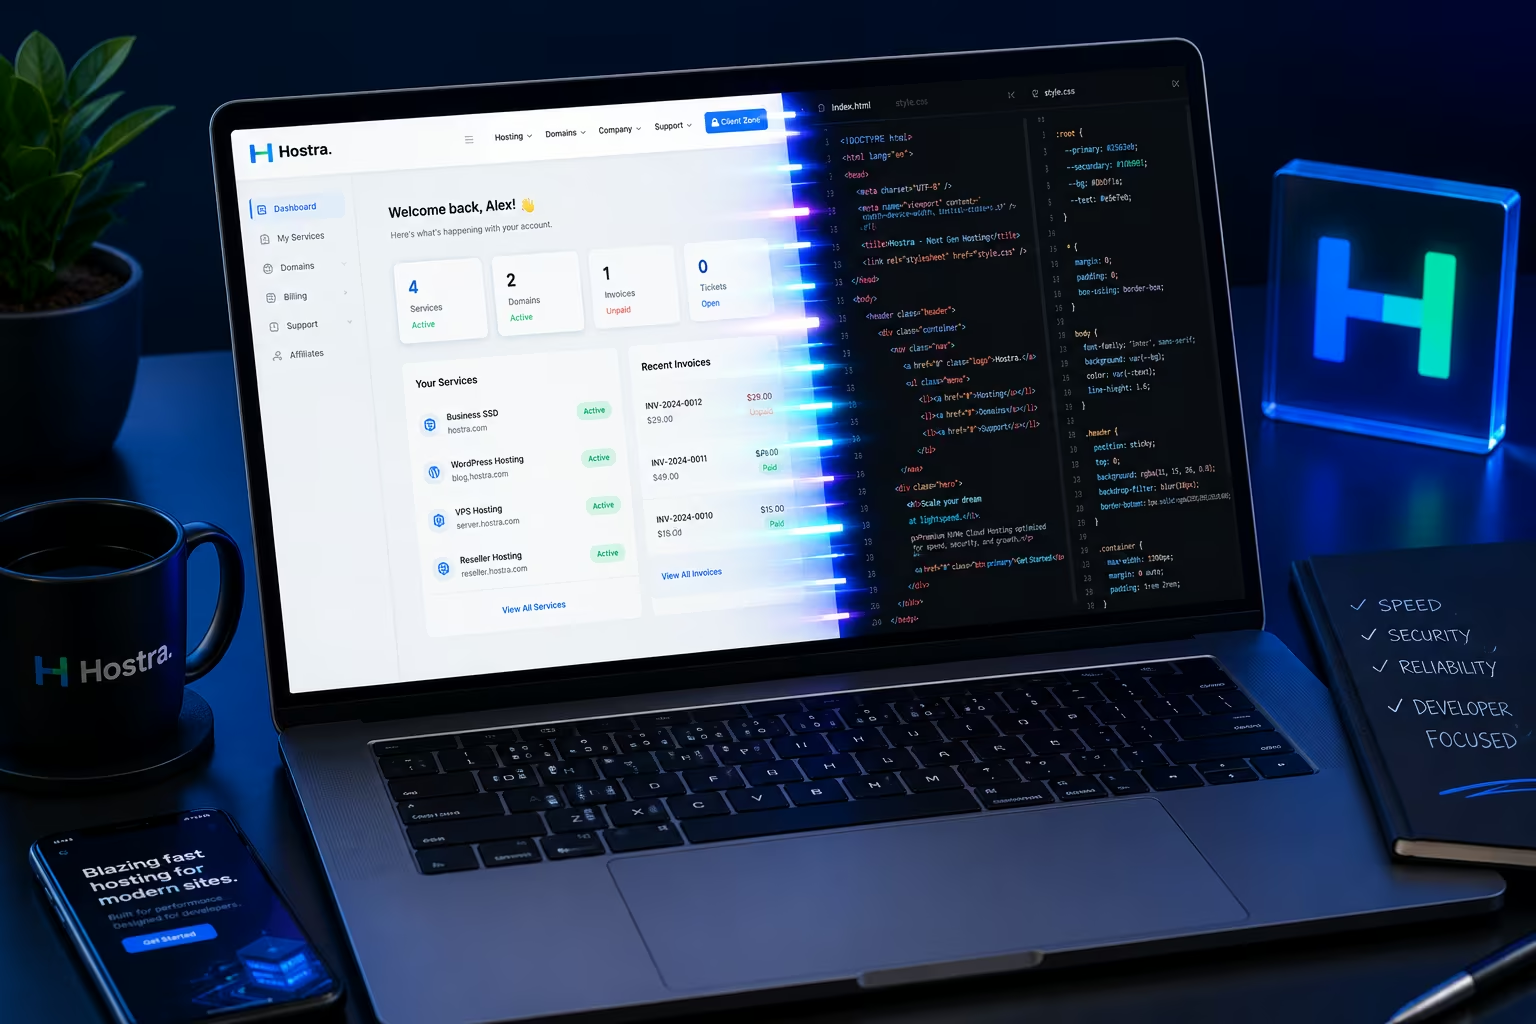
Hostra was engineered to run your entire hosting platform—both the front-end marketing pages and the secure backend client portal—from a single, unified Blesta installation. No hybrid setups, no complex API bridges, and most importantly, absolutely no manual coding required.
If you are evaluating Hostra for your next digital venture, you might be wondering exactly how difficult it is to deploy. This quick-start guide pulls back the curtain to show you the exact installation workflow. Here is how you can transform a blank Blesta installation into an enterprise-grade, fully branded hosting marketplace in under an hour.
Phase 1: The Single-Domain Philosophy
The first step in the Hostra workflow is what you don’t have to do.
You do not need to set up subdomains or configure complex Cross-Origin Resource Sharing (CORS) policies. You simply install Blesta (v5.12 or newer, running on PHP 8.1 – 8.3) directly in the root directory of your main domain (e.g., yourhosting.com).
Once your Blesta license is active and you have toggled on “Maintenance Mode,” you are ready to install the theme.
Phase 2: The Single-File Upload
Instead of forcing you to overwrite core system files or manually route folders, Hostra utilizes a clean, self-deploying architecture. When you download the theme, you receive one highly optimized file: the Hostra Companion plugin.
You simply upload this single folder into your Blesta /plugins/ directory using your server’s file manager or via SFTP. No complex three-part uploads, no hunting down checkout template folders, and no confusing file permissions. Upload the core engine, and your manual file handling is completely finished.
Phase 3: The 1-Click Deployment (No Coding Required)
This is where Hostra entirely separates itself from legacy hosting templates. In the past, changing a theme’s color palette or mapping files meant opening a code editor and modifying raw CSS and PHP.
With Hostra, you never have to touch a line of code.
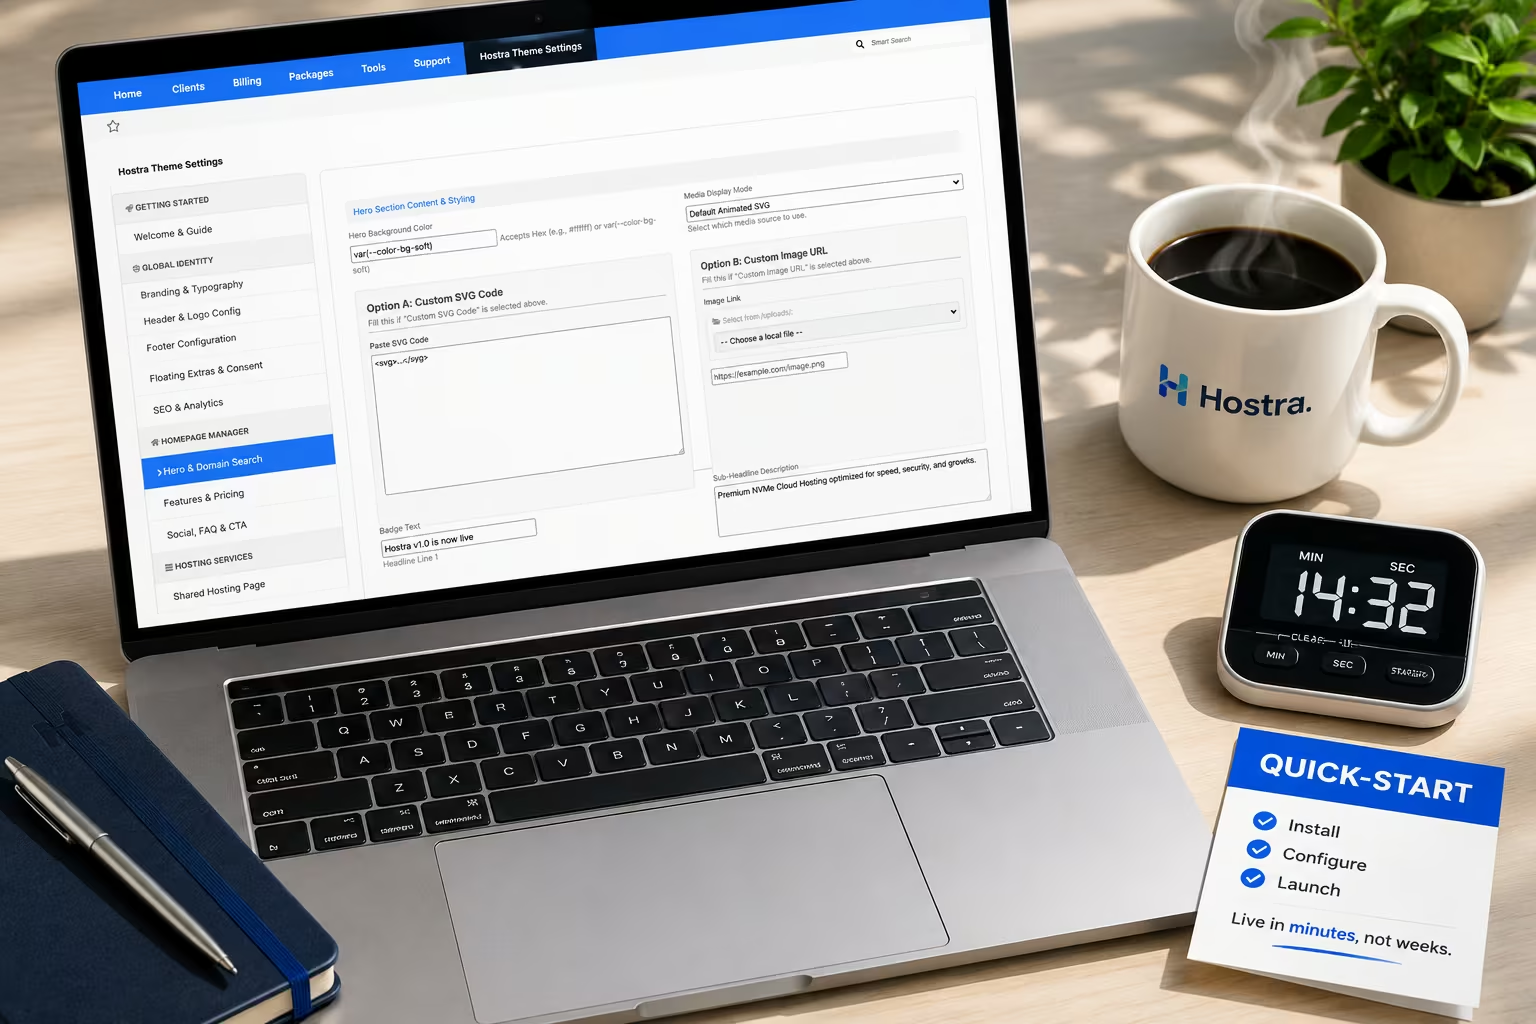
You simply navigate to your Blesta settings and install the Hostra Companion plugin. Immediately, a powerful, dedicated settings dashboard appears right inside your Blesta admin navigation menu. This dashboard is your mission control.
Enter your Hostra license key and click Activate & Deploy. The plugin’s automated engine instantly validates your system, extracts the core theme assets, and routes the custom checkout templates directly to their correct Blesta directories in the background. Simply select Hostra from your client template dropdown, and your foundation is set.
Phase 4: Global Identity and Branding
Building trust in the hosting industry relies heavily on visual consistency. Using the Hostra dashboard, you can establish your brand identity in minutes, and those changes will dynamically push across both your marketing pages and your secure client billing area.
Branding & Typography: Enter the hex codes for your primary and secondary brand colors. Select your preferred Google Font from the dropdown menu, or enter a custom font URL. Your entire site’s buttons, headers, and backgrounds will instantly adapt to these variables.
Logos & Navigation: Upload your main logo, favicon, and mobile hamburger icons directly from the interface. You can even customize your main navigation menu by selecting Font Awesome icons (e.g.,
fas fa-server) and instantly renaming pages to fit your niche—for instance, changing “Shared Hosting” to “Managed WordPress.”The Footer & Extras: Add your social media links, upload payment gateway icons (Visa, Stripe, PayPal), configure your GDPR cookie consent bar, and even toggle on a floating WhatsApp business chat button to capture live pre-sales leads.
Phase 5: Building Out Your Product Pages
Because Hostra handles both the front-end and the backend, it includes beautifully crafted marketing pages right out of the box: Home, Shared Hosting, VPS, WordPress, Reseller, Domains, and Contact.
You don’t need a clunky page builder to edit them. You manage the content directly from the Hostra Theme Settings menu.
The Home Page Manager: Swap out the hero section background, edit your primary headlines, and toggle entirely customized sections on or off with a single click. You can activate the domain search widget, build out up to four pricing tier tables, and drop in customer testimonials and FAQ accordions.
Hosting Services: Each hosting page features highly structured input fields. You simply type your product descriptions, set your pricing (e.g., $9.99/mo), and paste the direct Blesta checkout link into the button URL field.
The Domains Page: Enter your registration, renewal, and transfer prices for your top TLDs (like
.comor.io) into the dynamic pricing grid.
The “Killer” Feature: When a user searches for a domain on your Hostra front-end, the theme captures their search string and routes them directly into the Blesta checkout cart with the domain already queried. No repetitive typing for the user, resulting in a massive boost to your conversion rates.
Phase 6: Automated SEO and CMS Routing
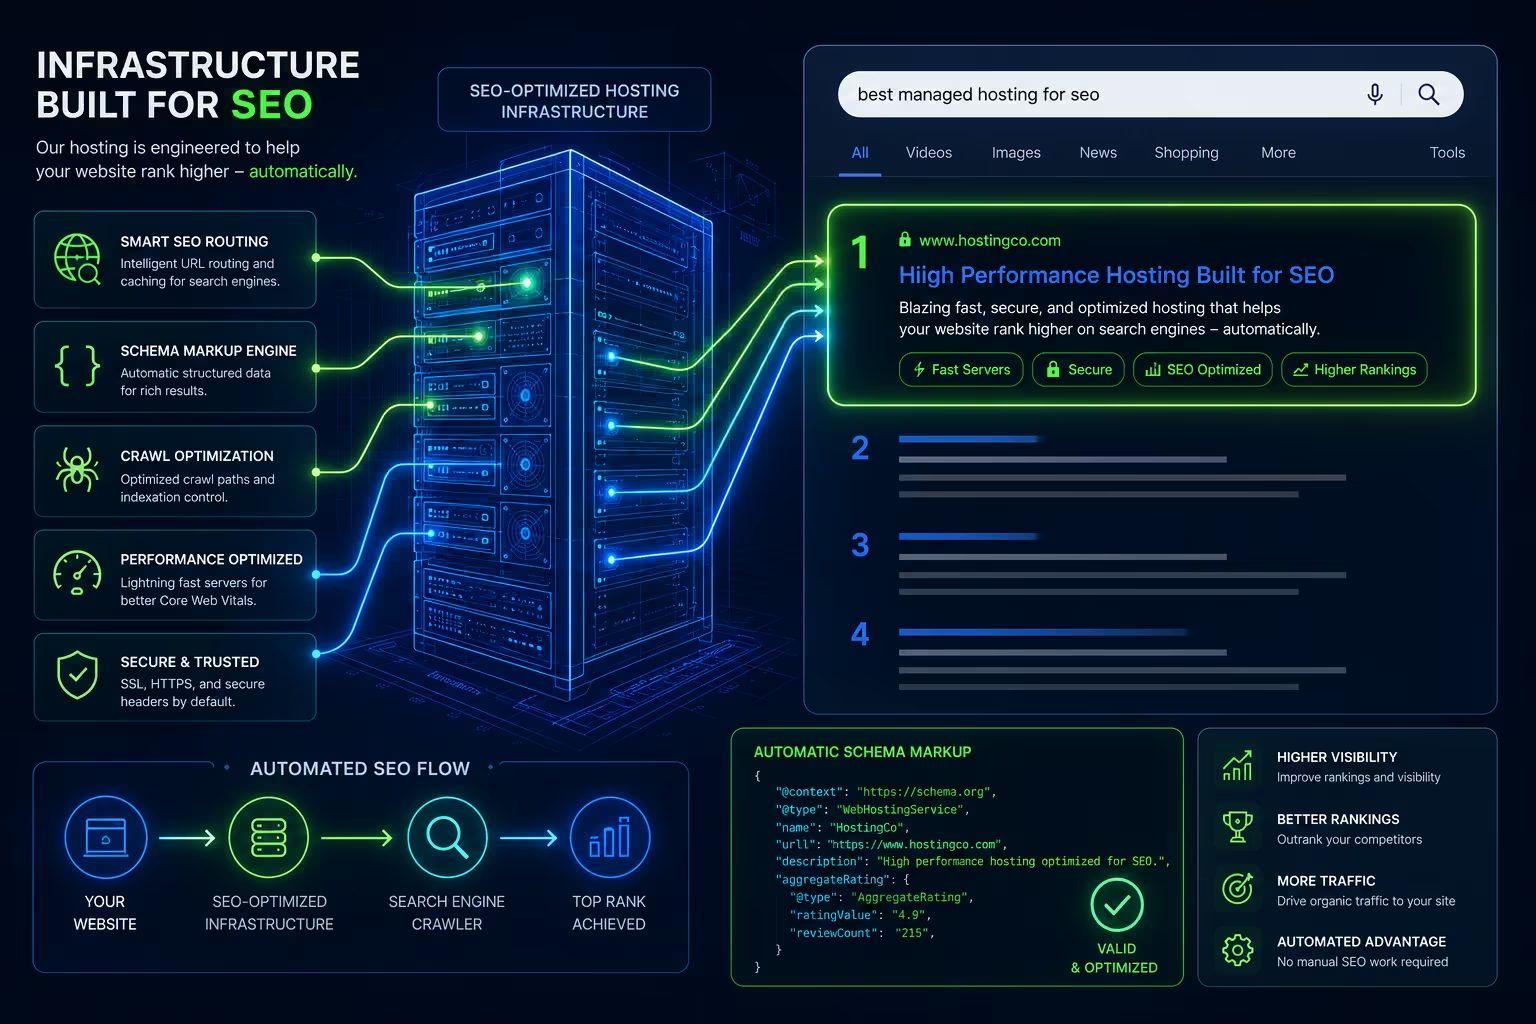
We built Hostra to rank. When you configure your pages, Hostra automatically handles the heavy technical SEO lifting in the background.
From the SEO & Analytics tab, you can drop in your Google Analytics tracking ID. More importantly, you can set the exact Meta Title and Meta Description for every page. Hostra natively generates Canonical URLs to prevent duplicate content penalties, compiles JSON-LD Schema markup for your FAQ sections to win Google Rich Snippets, and creates Open Graph tags for social media sharing.
If you create custom page slugs (e.g., /cloud-nodes), you simply map them using Blesta’s native CMS Manager. Hostra syncs seamlessly with the core Blesta router to ensure your custom URLs load instantly without throwing 404 errors, dynamically generating an XML sitemap for you to submit to Google.
Phase 7: The Final Touch (The Admin Theme Generator)
Once your front-end and client areas are perfectly branded, Hostra offers one final piece of automation to complete your digital ecosystem.
Having a beautiful storefront is great, but your support staff shouldn’t have to stare at an unbranded, default Blesta admin panel all day.
Inside the Hostra settings, you will find the Admin Theme Generator. With a single click of the “Download Admin Theme” button, Hostra mathematically calculates a Blesta-compatible JSON theme file based on the exact hex codes you chose for your front-end.
You simply upload this file into the Blesta Staff themes tab. Instantly, your internal admin panel transforms to perfectly match your public corporate identity. Your brand is now 100% unified, from the first marketing click to the final backend support ticket.
Phase 8: Automated Updates & Factory Resets
The automation doesn’t stop at deployment. As your business grows, maintaining your theme is completely frictionless.
When a new version of Hostra is released, an alert appears directly in your dashboard. You can upgrade your entire storefront—plugin, theme, and checkout forms—with a single click using the built-in Auto-Updater. And if you ever want to safely experiment with your design, the 1-Click Factory Reset instantly restores your original default configuration without you ever having to touch server files.
Conclusion: Speed to Market
In the infrastructure business, time is your most valuable asset. Spending a month trying to bridge WordPress to a billing portal is a month you aren’t acquiring clients, running ad campaigns, or configuring your physical servers.
The Hostra theme was meticulously engineered to solve the UI/UX problem for modern web hosts. By centralizing your design, content, and routing into an intuitive self-deploying plugin, Hostra allows you to deploy a premium, highly-trusted hosting brand over a lunch break.
Upload the plugin, click deploy, map your pricing, and launch. That is the power of a truly unified hosting platform.