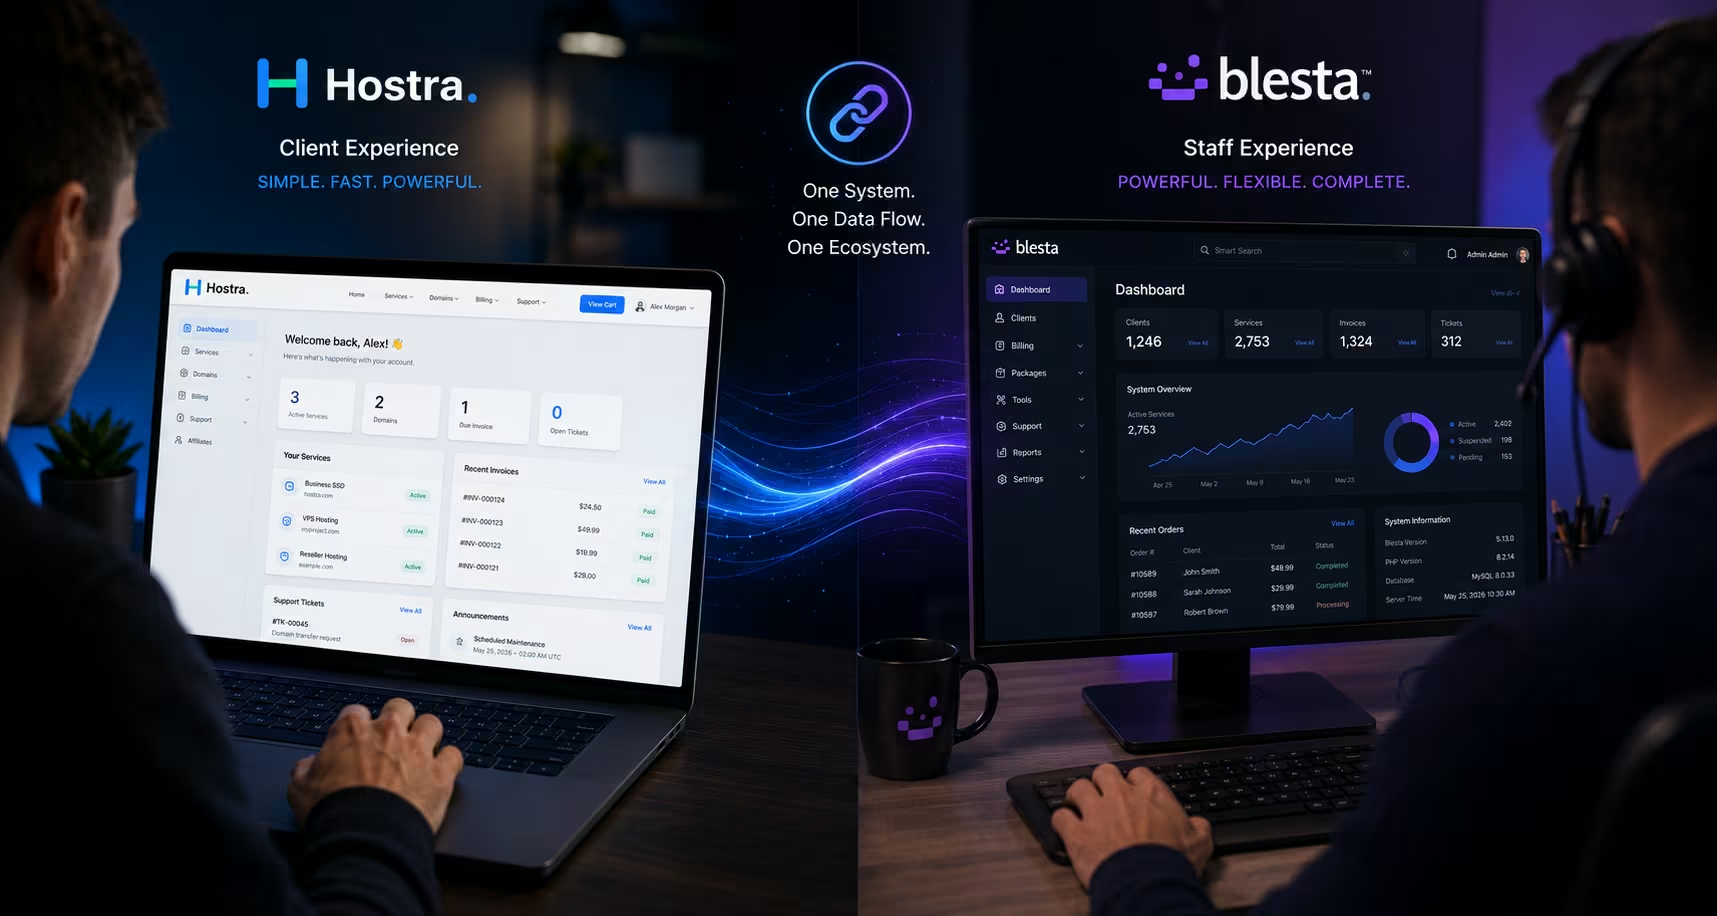
In the highly competitive web hosting industry, the concept of “branding” is often misunderstood. For many startups, branding begins and ends with slapping a custom logo onto a purchased landing page template and calling it a day.
But as your hosting company scales, you quickly realize that true branding is not just about a logo; it is about creating a cohesive, frictionless, and immersive digital ecosystem.
Historically, this has been incredibly difficult to achieve. The industry is plagued by the “Frankenstein UI”—a scenario where the marketing homepage looks like a modern tech startup, the client billing portal looks like a spreadsheet from 2010, and the staff admin panel looks like a completely different piece of software.
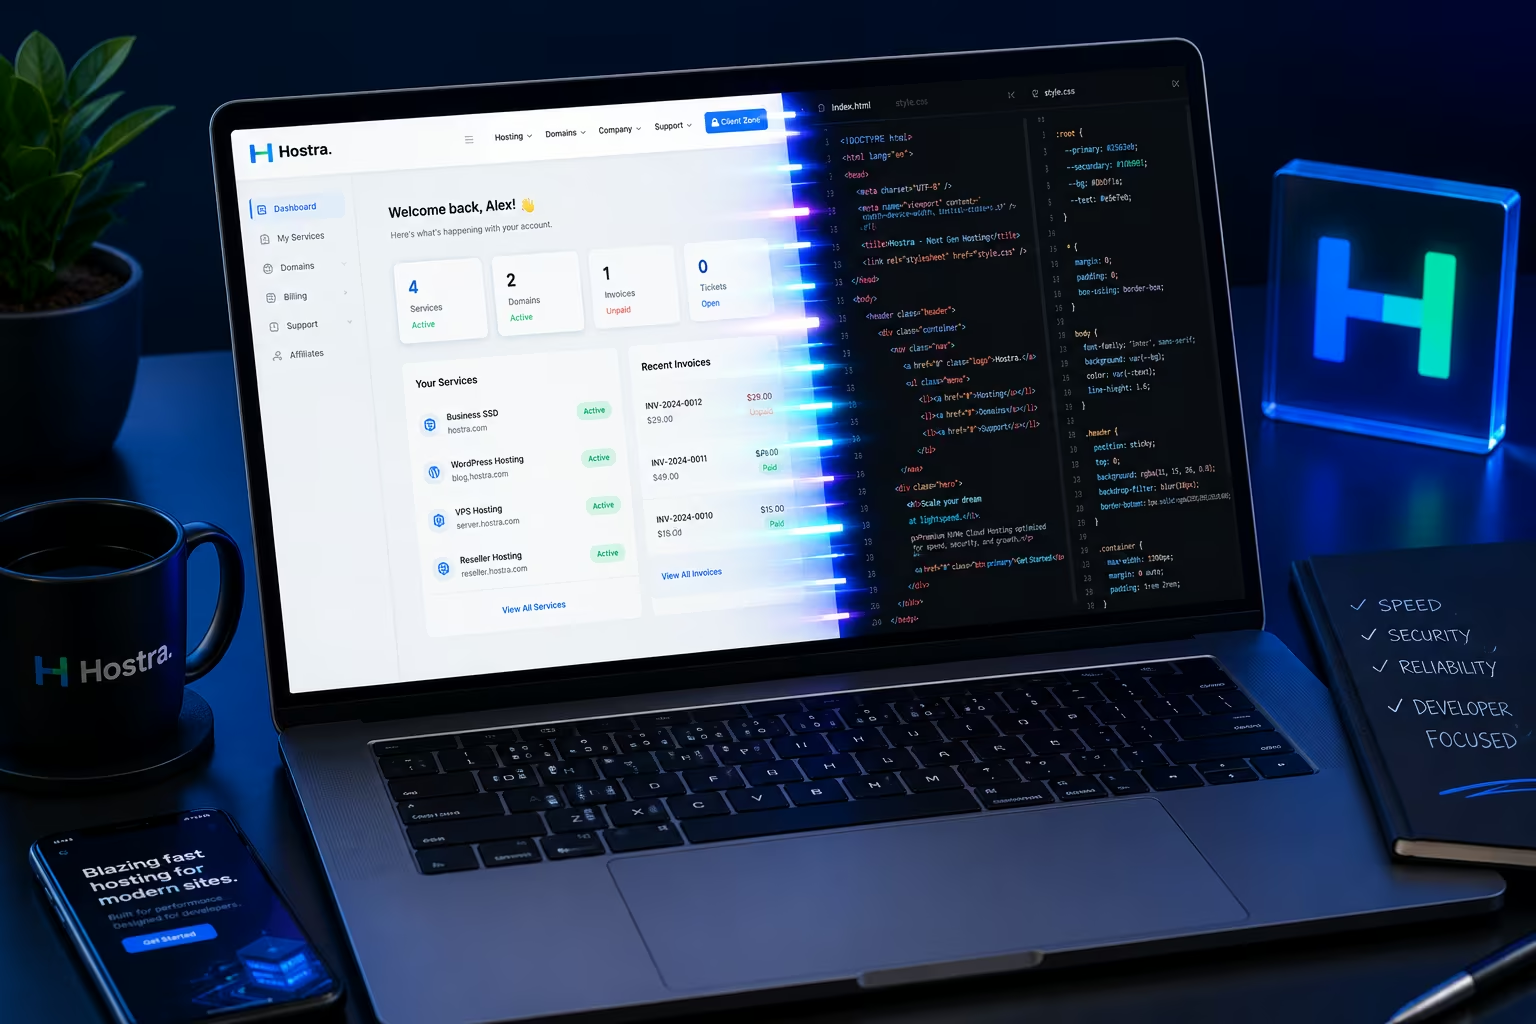
With the Hostra theme, we engineered a solution that unifies the front-end marketing pages and the client billing area into one seamless interface. But to build a truly premium hosting agency, you must take it one step further: you need to sync your internal operations with your external identity.
Here is why syncing your Staff Admin panel colors with your Client Area is a critical operational move, and how Hostra’s dynamic JSON generator makes it effortless.
The Psychology of the 360-Degree Brand
You might be asking yourself: “If only my support staff and system administrators see the Blesta admin panel, why does it matter what it looks like?”
It matters for three distinct reasons that directly impact your bottom line and operational efficiency.
1. The “SaaS” Employee Experience
Your infrastructure is only as good as the engineers and support agents managing it. If your staff logs into an unbranded, default billing panel every day, it subconsciously reinforces the idea that they are just pushing tickets in a generic reseller operation.
When you brand the internal admin panel to perfectly match your public-facing corporate colors, you elevate the software. It stops looking like an out-of-the-box third-party tool and starts feeling like proprietary, enterprise-grade SaaS software. It builds internal morale, reinforces corporate identity, and sets a standard of high aesthetic and operational quality for your employees.
2. Screen Shares, Demos, and Documentation
As your hosting business grows, your admin panel will inevitably be seen by people outside your company.
You will take screenshots of the backend to create your own internal training documentation.
You might do a live Zoom screen-share with a VIP enterprise client to show them how you are managing their dedicated server routing.
You may record tutorials for your knowledge base.
If those screenshots or screen shares reveal a disjointed, default Blesta interface that completely clashes with your brand’s color palette, you break the illusion of being a top-tier infrastructure provider. Brand consistency must survive behind the login screen.
3. Reducing Cognitive Friction
When a customer support agent is troubleshooting a complex billing issue, they constantly switch between viewing the front-end Client Area (to see what the user sees) and the backend Staff Admin panel.
If the Client Area features a sleek dark mode with neon blue accents, but the Staff panel is a stark white layout with default orange highlights, that abrupt visual context switch causes micro-friction. By unifying the color palettes, the transition between the client perspective and the admin perspective becomes visually fluid, reducing cognitive load on your support team.
The Technical Challenge of Admin Theming
Customizing the client-facing side of Blesta is one thing; customizing the Staff Admin panel is an entirely different technical beast.
Blesta’s core architecture strictly separates the client UI from the staff UI. To change the colors of the staff panel natively, a developer typically has to dive into Blesta’s core theming engine, understand how Blesta compiles LESS CSS variables, and manually write a custom JSON array mapping specific hex codes to specific UI elements (like primary buttons, navigation backgrounds, and table borders).
For a busy hosting entrepreneur, spending hours writing custom JSON arrays just to change the color of a support ticket button is an unacceptable waste of time.
This is exactly why we built the Admin Theme Generator directly into the Hostra plugin.
How Hostra Automates Your Admin Branding
Hostra completely eliminates the need to touch any code to unify your brand. When you configure your Global Identity settings for the front-end, Hostra takes those exact hex codes and dynamically scripts a perfectly mapped, Blesta-compatible JSON theme file for your staff panel in real time.
Here is the exact step-by-step workflow to generate and apply your custom admin theme.
Step 1: Define Your Global Identity
Before generating the admin theme, ensure you have locked in your core brand colors.
Log into your Blesta admin panel.
Navigate to Hostra Theme Settings > Global Identity > Branding & Typography.
Set your Primary Brand Color and Secondary Brand Color using standard hex codes (e.g.,
#3795fc).Click Save.
(Note: These are the exact colors currently powering your public marketing pages and client area).
Step 2: Set Your Internal Company Logo
The JSON file controls the colors, but Blesta’s core system controls the actual image files used in the admin header.
Go to Settings > Company > Look and Feel > Customize.
Upload your custom company logo and favicon here. (This ensures your logo replaces the default Blesta branding in the upper left corner of the staff panel).
Step 3: Download the Generated Theme
Now, we extract the dynamic code that Hostra has built for you.
Navigate back to Hostra Theme Settings > Advance Settings > Admin Theme Generator.
You will see a button labeled Download Admin Theme.
Click it. This will immediately download a file named
hostra_admin_theme.jsonto your local computer. This file contains the mathematically calculated color mappings based on your primary brand colors.
Step 4: Import and Apply the Theme (The Critical Step)
This is the final step, and it requires careful attention to ensure you apply the theme to the correct sector of your Blesta installation.
In the Blesta admin menu, navigate to Settings > Company > Look and Feel > Themes.
At the top of this page, you will see two tabs: Client and Staff.
CRITICAL WARNING: You must click the Staff tab. Do not upload this file under the Client tab. The client area has already been heavily customized by the core Hostra template files you uploaded during initial setup. Uploading this JSON to the client tab will conflict with Hostra’s native styling.
Once you are on the Staff tab, click the + (Import a Theme) icon.
Click Choose File and select the
hostra_admin_theme.jsonfile you just downloaded.Click Create Theme.
You will now see “Hostra” appear in your list of available staff themes. Simply click the Select Theme button next to it.
The Result: A Flawless Digital Ecosystem
The moment you click that select button, your Blesta admin panel will refresh. The default colors will instantly shift to perfectly match the hex codes you defined for your front-end. The navigation bars, primary action buttons, alert boxes, and data table accents will now echo your exact corporate identity.
You have now successfully bridged the final gap in your hosting architecture.
A user can discover your brand via a beautifully styled landing page, transition seamlessly into a matching checkout flow, log into a unified client portal, and interact with support agents who are managing their tickets from a perfectly mirrored, brand-consistent staff dashboard.
You aren’t just running a billing script anymore. By utilizing Hostra’s dynamic JSON generator, you have built a comprehensive, enterprise-grade software environment that commands absolute trust from your clients and instills a sense of premium quality in your staff.